For years, sticking to one style was the standard rule for every home. Now, creating a space with character means stepping away from a matchy matchy look.
Many homeowners worry that blending brass, chrome, and matte black will look chaotic. Rest assured, this design approach is a smart way to add depth. It transforms a predictable space into a bright sanctuary.
Using Mixed Metal Kitchen Hardware creates a collected over time aesthetic. This vibe feels much more welcoming than traditional single tone spaces. It adds a layer of visual interest to your interior that is hard to ignore.
Our guide walks you through a proven process to blend different metals with total confidence. You will learn which specific metals work best together. We have set the rules to help you master the use of every metal piece.
This article covers five actionable steps to achieve a professional look in your kitchen. By following these tips, you can transform your space from basic to beautiful. Let’s start building a look that feels unique to you.
Why Mixed Metal Kitchen Hardware Is a Design Game Changer
For years, homeowners felt stuck with one finish, but the shift toward mixing metals changed the world of interior design forever. This approach became a favorite for experts like Jean Stoffer, who used it to add incredible depth to her projects. It allowed the space to feel curated rather than just assembled from a catalog.

Embracing different finishes showed that you had a unique style and weren’t afraid to try new things. This method created a “collected over time” feeling that made kitchens feel more lived-in and authentic. Instead of a sterile showroom, your spaces gained a welcoming and personal touch.
By blending warm and cool tones, you achieved a balance that kept the room from looking flat. This strategy also gave you the freedom to update parts of the design later without a full renovation. It works beautifully in an open space living room kitchen with where visual layers define the area.
| Feature | Single Metal Look | Mixed Metal Look |
|---|---|---|
| Visual Impact | Flat and uniform | Sophisticated and layered |
| Vibe | Predictable | Custom and curated |
| Flexibility | Low | High |
Understanding the 2-3 Metal Rule
To keep your home from feeling visually overwhelming, experts suggest sticking to the foundational 2-3 metal rule. Limiting your palette to a few distinct metals creates visual cohesion throughout the room. This variety keeps your design interesting without appearing messy or accidental.
Using fewer finishes allows you to repeat each style multiple times. This repetition creates a sense of rhythm and balance that professional decorators love. It provides helpful guardrails for homeowners who feel overwhelmed by too many hardware options.

Identify one dominant metal, one secondary metal, and an optional accent finish. This hierarchy ensures the space does not become visually exhausting to the eye. In this way, your hardware looks curated and high end.
This rule works well even in specialized kitchen designs without windows or smaller layouts. Choosing the right metals helps you achieve a strong, polished look when mixing metals kitchen elements. These metals ensure your metals kitchen remains cohesive in any space.
Step 1: Choose Metals That Contrast, Not Clash
Achieving a designer feel in your kitchen begins with choosing metals that offer a sharp contrast instead of a confusing clash. For years, designers used this visual distinction to create deep interest. Clashing simply looked like an accidental mistake.
A basic rule involved pairing warm toned metals with cool toned ones. This strategy ensured the color palette appeared deliberate rather than random.

For instance, mixing unlacquered brass with polished nickel or chrome created a classic, high end look. These finishes stood apart because their temperatures were complete opposites.
Homeowners avoided integrating a similar finish, such as brushed and polished nickel, because it created a “wishy-washy” look. When planning your hardware lighting white oak and black, look for a distinct metal difference.
Just like fashion, mixing navy and black looked accidental, while navy and cream looked purposeful. Many also used oil rubbed bronze to provide more depth.
Since bronze had a darker patina, it provided a beautiful contrast against a lighter metal. This established a balanced contrast that helped every element shine.
Step 2: Establish Your Dominant, Secondary, and Accent Metals
Success in mixing metals relies on a three tier system that assigns a specific role to every finish in the room. You should first pick a dominant metal that covers about 50-60% of the space. This lead finish usually appears on your main cabinet hardware and large lighting fixtures.
Your secondary choice should make up 30-40% of the design to provide contrast without competing for attention. Finally, use an accent metal sparingly for the last 10-20% to add unexpected pops of sophistication. This intentional layering creates opulent materials and looks that feel planned rather than accidental.

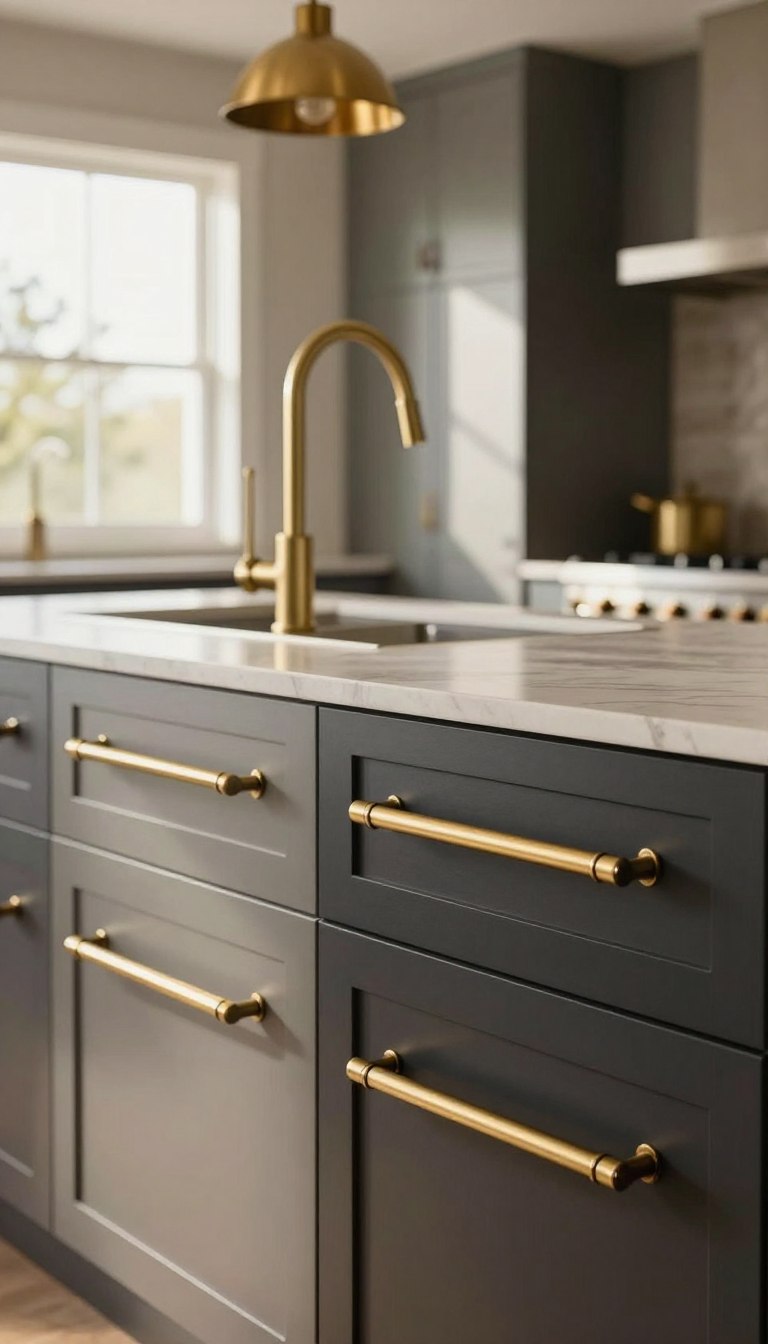
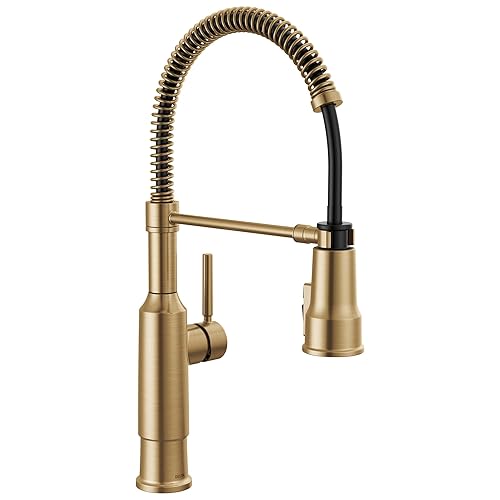
In one featured kitchen, aged brass served as the dominant finish for pendants and knobs. The designer used polished brass for gallery rails and smaller accents like sconces. Polished nickel acted as the cool toned plumbing fixtures to tie in stainless steel appliances.
This choice helps bounce warm light around the room while providing a sleek, reflective quality. Always map out your hardware selections on paper before buying anything. This ensures every piece has a clear purpose in your final design.


Step 3: Master Popular Metal Combinations
Finding the perfect balance for your mixed metals layout becomes simple once you learn the three most reliable combinations. These proven pairings provide a great starting point for any kitchen style.
The duo of brass and polished nickel is a favorite because nickel has warm undertones. These tones complement brass much better than the cool feel of chrome, resulting in a timeless look. This mix also works well with kitchen island ideas and stainless steel appliances.
Another striking pairing involves warm hardware and copper. This combination creates rich layering that feels very unique and inviting. Try using brass for cabinet hardware while selecting copper for accent color in lighting or accessories.

For a contemporary design, pair metals with black. Since black acts as a neutral, it grounds the warm color of other finishes. Use black for permanent fixtures and other metals for items you can easily swap later.
These three mixed metals combinations offer great flexibility. Whether you prefer a traditional or modern space, they ensure your chrome or copper accents always look intentional alongside black details. Using these foundations helps you create a professional and cohesive atmosphere.


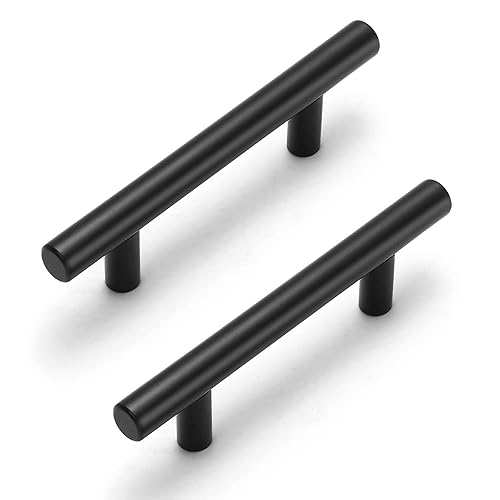
Step 4: Keep Metals Consistent Within Their Categories
Organizing your finishes by category is the most effective way to prevent a chaotic design. To maintain balance, you should keep all items within the same functional group in the same finish. This means your plumbing fixtures, like the faucet and pot filler, should match each other perfectly.

Similarly, all your cabinet hardware including every knob and pull must stay consistent across the cabinet faces. By choosing one metal for hardware and another for plumbing, you create an intentional layer of textures. This strategy ensures mixing feels like a purposeful design choice rather than an accident.
You might even add a third finish for light fixtures or appliances to complete the look. Repeating a specific metal across the metals kitchen design creates a visual rhythm that feels natural. This category based approach separates high end design from a cluttered or confusing space.
This organized approach makes choosing new pieces easier because the category defines the finish for you. Successful mixing in metals kitchen spaces depends on having this clear, repeatable structure. Matching cabinet hardware styles ensures your cabinet layout remains visually unified and easy to navigate.
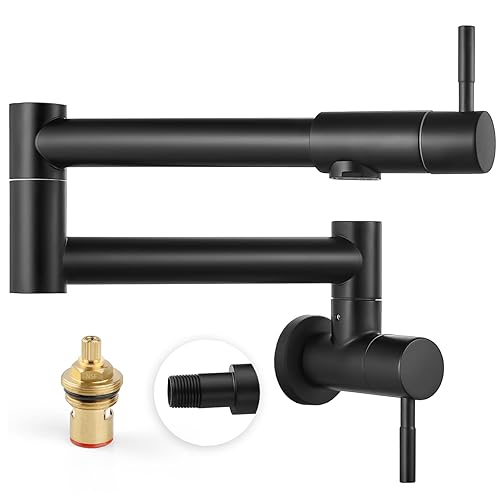


Step 5: Tie in Stainless Steel Appliances and Other Elements
Bridging the gap between your chosen metals and existing stainless steel appliances is a vital final step. Many homeowners struggle to integrate these large steel pieces into a mixed finish space. You can create a cohesive look by using cool toned metals like polished nickel for your plumbing fixtures.
This reflective quality echoes the stainless steel without appearing too “matchy-matchy” in the kitchen. Adding a black metal touch also helps anchor the design. This is especially true for appliances that feature dark trim or glass windows.
Repeating this dark color in pendant rods or cabinet pulls helps the room feel connected. It prevents your large appliances from looking like isolated boxes in the room.
By viewing the steel elements holistically, you ensure every piece fits when mixing metals. Strategic use of steel accents ensures the design feels intentional throughout the kitchen. This approach creates a masterfully curated environment for your family.
Recommended Hardware for Your Kitchen:


Conclusion
Transforming your kitchen with various finishes creates a design that looks collected over time. By following these steps, you can master mixing metals kitchen projects with confidence. Whether you blend brass, chrome, or nickel, always prioritize balance and contrast.
Many people fear making mistakes, but intentional mixing metals adds depth and style. This way, your home gains a professional mixed metal look. Tell a unique story by adding accents of steel or bronze to reflect the light.
Start with two metals kitchen choices to improve your hardware finish. This post helps you refine your interior design today.