I’ll be honest: I used to dread walking through my front door. My entryway was the definition of a ‘bottleneck’ dark, cramped, and far from welcoming. It’s a common struggle I see so many of you searching for: how to make a tight space feel grand while adding clever storage.
That’s why I finally decided to take matters into my own hands. Today, I’m sharing my personal renovation journey of transforming a narrow hallway from a forgotten passage into a stunning, functional entry. This is a detailed, step by step account of my entire process, where I’ve infused professional design principles with real-life solutions.
Just like the smart layout rules we’ve discussed for arranging living rooms, these small-space hacks will change how you see your home. My goal is to inspire you to unlock the hidden potential of your entry and create a space that finally feels like ‘home’ the moment you step inside.
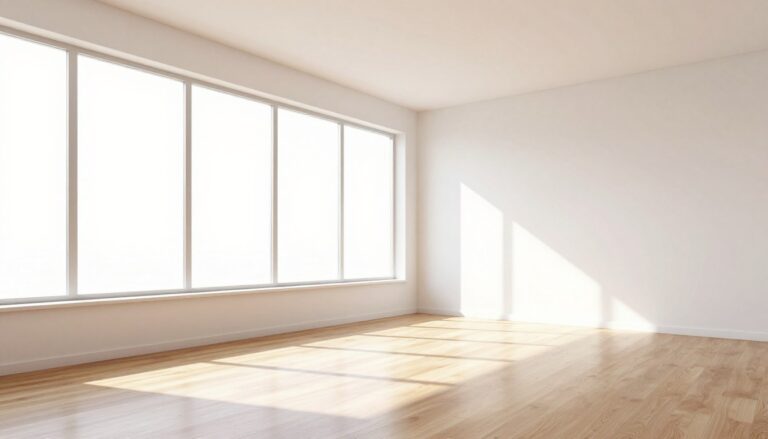
The Cramped and Cluttered Reality: My Hallway’s “Before” State
My narrow hallway was once a cluttered passageway without style or purpose. It was a space you rushed through, not a warm welcome to my home. This state showed why many homeowners look for hallway renovation ideas.
The walls were a dated, deep taupe that sucked in what little light came from other rooms. A single, old light fixture cast weak shadows, making it feel even tighter at night. It was like designer Eva Byrne’s Dublin flat, where there was little room for anything but coats on a hook.
Without storage, the floor was a mess. Shoes, bags, and mail made it hard to move. This clutter wasn’t just ugly; it made it hard to carry groceries.
Doors opened awkwardly, taking up more space. Moving around them was like solving a puzzle. The layout made it hard to move with guests or big items. My entryway was only functional in a basic, frustrating way.

My story is common before a renovation. Like Byrne’s Georgian townhouse, I had a small, inefficient cabinet for storage. The dark walls and poor lighting made the space feel oppressive. These issues are common in many entryways.
This cramped reality was my starting point. It showed me what needed fixing through good design. Understanding these problems was the first step to a better entryway. For those with similar issues, looking at modern luxurious small living room ideas can help with whole home design.
Envisioning the Change: Goals for My Entryway Transformation
My small hallway makeover started with a list of goals. I wanted to change the space’s look and feel. I knew making random changes would be a waste of time and money.
Before I even started painting, I set three main goals. These goals were my guide, making sure every choice was meaningful.

My first goal was to visually widen and brighten the space. The hallway felt cramped and dark. I wanted to use color, light, and reflection to make it seem bigger and brighter.
The second goal was about being practical: introducing smart storage to eliminate clutter. Shoes, bags, and coats made a mess. I needed to find ways to store things without taking up too much space.
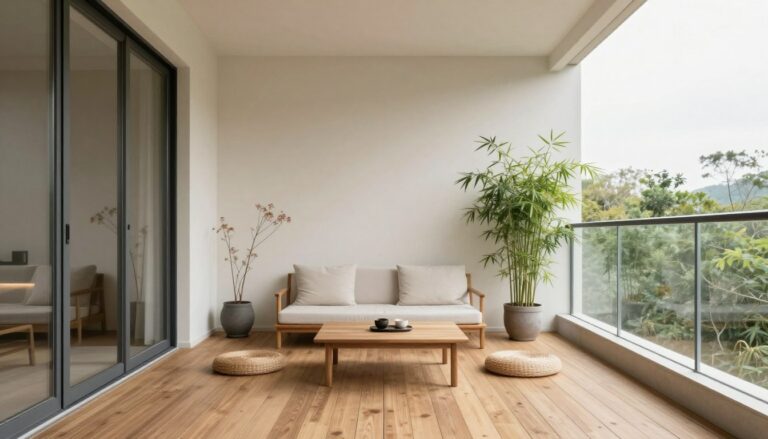
My last goal was to inject personality and visual interest. I wanted the hallway to be a welcoming spot, not just a quick pass-through. I added decor that showed my style, making the space enjoyable to walk through.
These goals helped me balance looks and function. They guided every step of my transformation.
Transforming a Narrow Hallway: 8 Essential Steps I Took
Turning a tight hallway into a beautiful entrance took eight steps. This part covers the first four steps. These changes were key for maximizing space in a hallway and using hallway design tips.
Each step built on the last, making the space brighter and more useful. Let’s explore how I did it.
1. Painting Everything in a Light, Reflective Hue
I started by painting everything a light color. I picked a bright white for walls, ceiling, trim, and door.
Eva Byrne used this trick in a Dublin flat. Light colors reflect light, not absorb it. I chose a satin finish paint. This sheen adds a soft glow, making the space feel larger.
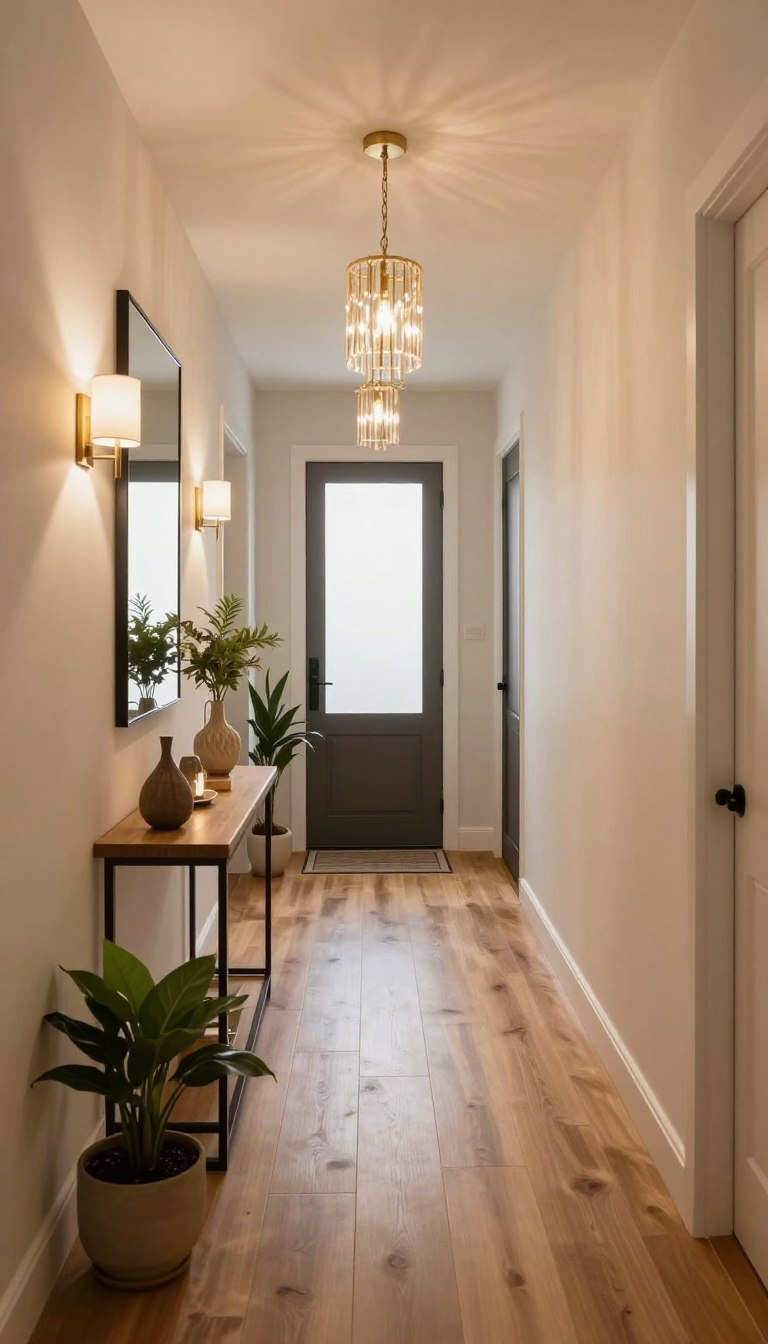
2. Installing Strategic Lighting Layers
Good lighting is crucial in a dark hallway. A single light fixture creates harsh shadows. I solved this by adding three light layers.
I placed a central light fixture for overall light. Then, I added wall sconces at eye level for a warm glow.
Lastly, I put a small ambient light on my storage bench. This layered lighting makes every corner bright.

3. Incorporating a Large Statement Mirror
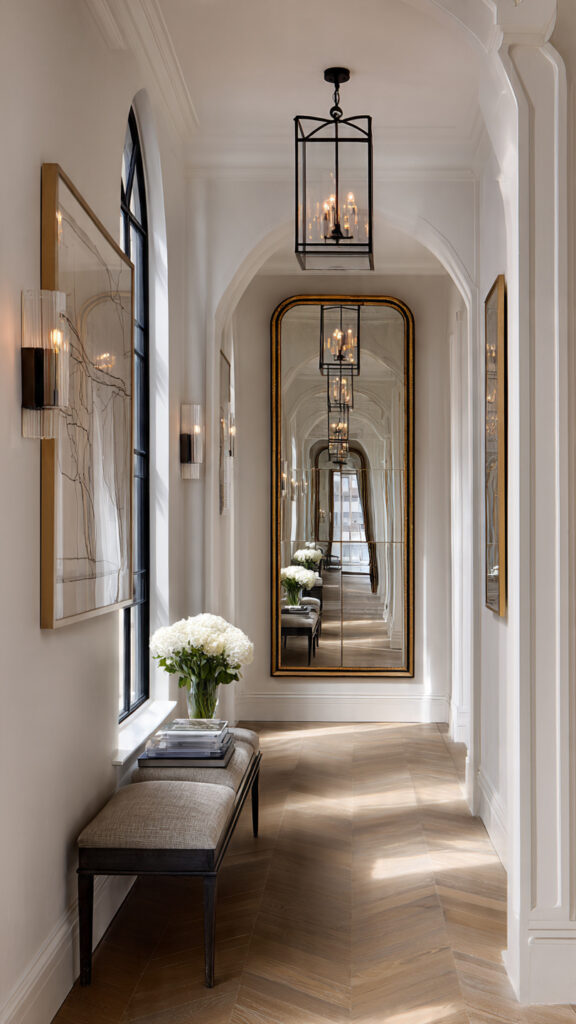
A big mirror was the best trick for making the space seem larger. I hung a large, frameless mirror opposite my wall sconces.
The mirror does two great things. It doubles the light by reflecting it. It also makes the wall seem farther away.
Looking into the mirror makes the wall appear deeper. It’s a designer trick for making small spaces look bigger and brighter.
4. Building a Custom, Slim Profile Storage Bench
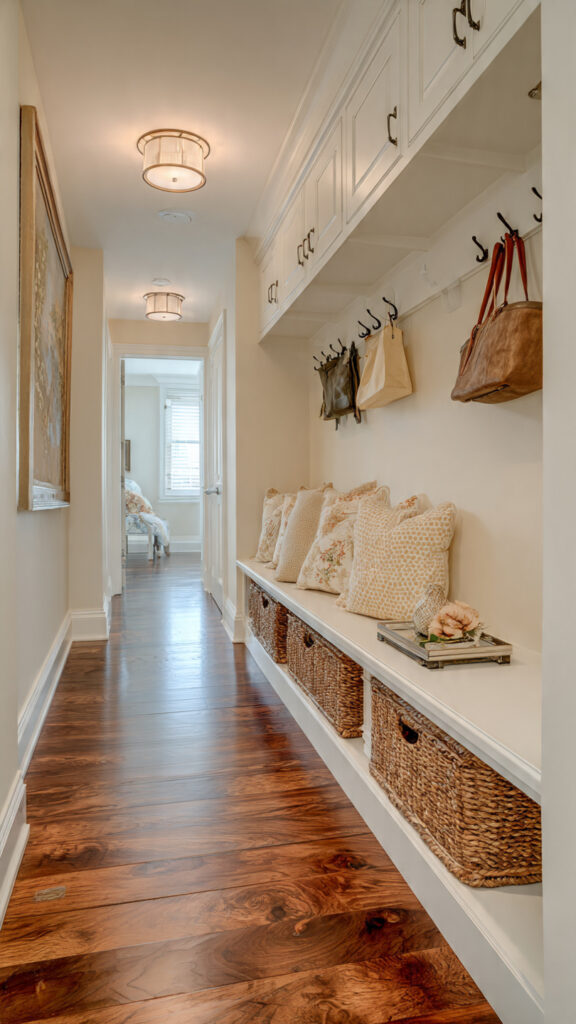
I needed a place to sit and store things without taking up too much space. A custom-built, slim bench was the answer.
I made it just deep enough for shoes and shallow baskets. It fits snugly against the wall, saving floor space.
The bench is perfect for dropping bags and mail. It also has hidden storage, which is vital for maximizing space in a hallway. This keeps the floor clear and the look neat.
Navigating Common Narrow Hallway Design Challenges
After covering the basics, I faced two common challenges in narrow hallway design. These obstacles pushed my creativity to new heights. They led to some of the most satisfying hallway organization solutions.
Solving them required thinking outside the box. It was more than just narrow hallway decor. It was like solving a puzzle.

What to Do When Your Hallway Has Doors on Both Sides

My hallway had doors on both sides, limiting wall space and creating a tight path. My goal was to keep the path clear while adding function and style.
I chose a slim console table, only 10 inches deep. It provides a surface for keys without blocking the path. This is similar to using shallow furniture for narrow radiators.
Vertical decor was key. A tall, narrow mirror and small floating shelves draw the eye upward. This maximizes visual interest without taking up floor space.
Integrating Unsightly Necessities Like Thermostats or Vents
Every hallway has unsightly items like thermostats and vents. My goal was to hide them so they blend with the design.
I hid the thermostat in a gallery wall. A small piece of art or frame beside it makes it part of the design. I also painted its cover plate to match the wall, making it almost invisible.
An air vent was hidden by a slim storage bench. The bench is open at the bottom for airflow. Coat hooks lower on the wall help reduce clutter.
These strategies show that even tough utilities can be part of the design. It’s about solving problems with style. For more ideas, check out these clever wardrobe ideas for small master bedrooms.
Dealing with these issues taught me that narrow hallway decor is about problem solving and beauty. Every choice must serve two purposes.
The Budget Breakdown: How Much This Transformation Cost
I’m sharing the costs of my entryway makeover. Knowing the budget helps turn dreams into reality. I tracked every expense, from big fixtures to small decor items.
I balanced spending on big upgrades with DIY tasks. This way, I got the best value. A big part of the budget went to hallway lighting design by a pro.

Here’s a detailed cost breakdown. I grouped expenses into four categories for easy understanding.
Materials & Supplies: This cost about $450. It included premium paint, lumber for the bench, a big mirror, and hardware. Buying in bulk saved money.
Lighting & Electrical Fixtures: This cost around $600. It covered wall sconces, a ceiling fixture, dimmer switches, and wiring. Quality fixtures last longer and work better.
Labor & Professional Services: I splurged here. Hiring a licensed electrician cost $400. It was worth it for safety and following codes. This was key for a pro hallway lighting design.
Decor & Finishing Touches: I spent about $200 here. This included a rug, bench cushion, artwork, and plants. I looked for sales and reused items.
My biggest spend was the electrician. Rewiring for layered lighting is not DIY. Their expertise made my vision come to life safely and efficiently. It completely changed the space’s feel.
On the other hand, I saved a lot by doing things myself. Painting and building the bench saved hundreds. Upcycling an old console table into the bench base was another smart move.
You can save money too. Look for cheaper alternatives like wainscoting instead of expensive wallpaper. Shop second hand for mirrors or frames. Every dollar saved can be used for something important.
The total cost for my stunning entryway makeover was just under $1,650. This budget made a big impact. My advice is to make hallway lighting design a top priority. It sets the mood in a narrow space.
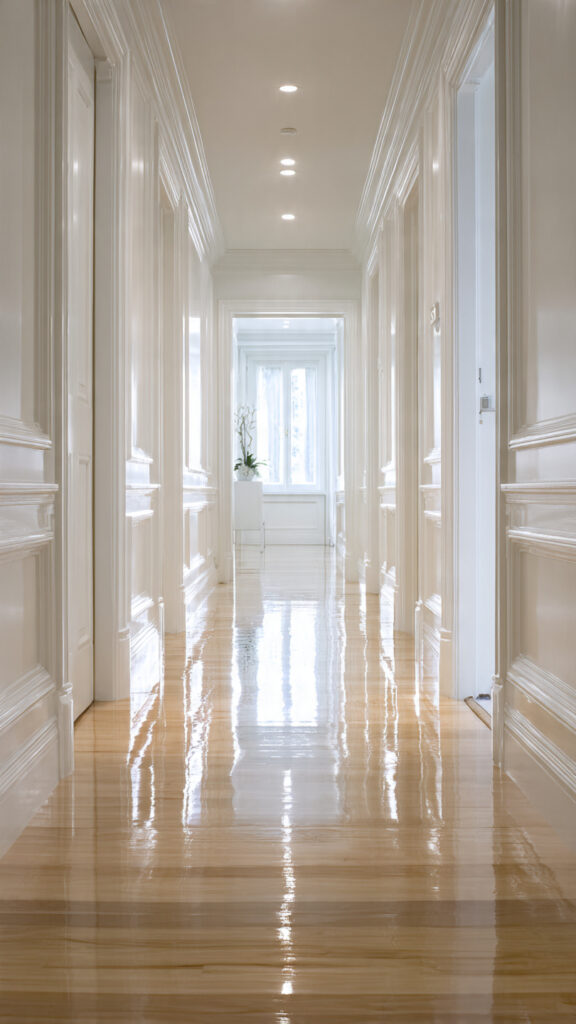
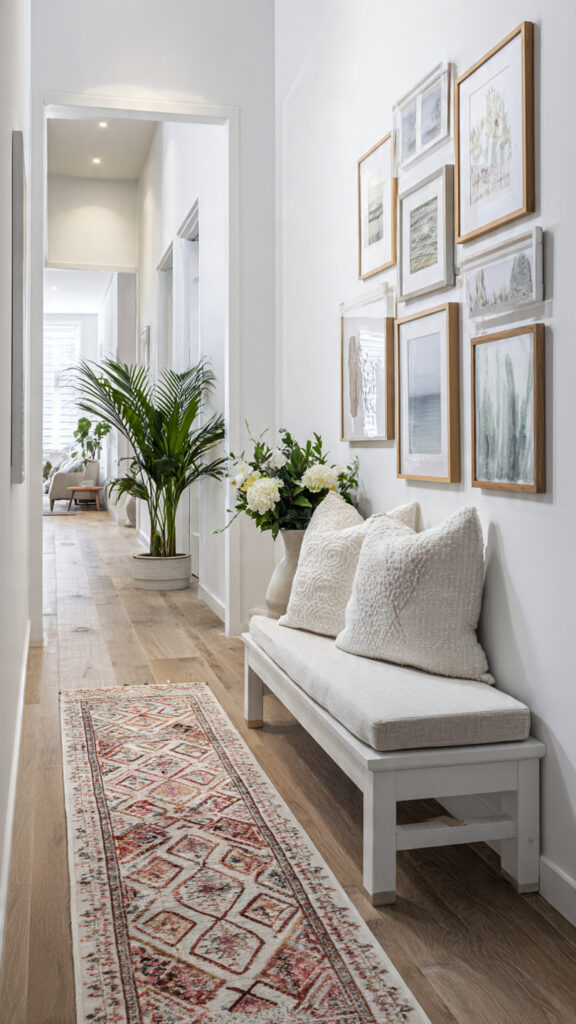
The “After” Reveal: A Bright, Functional, and Welcoming Entry
Walking into my home now feels completely different. The transformation is immediate and profound. A dark, cluttered tunnel is now a bright and airy gallery that welcomes everyone.
The pale paint reflects light from every angle, creating a bright and spacious feel. This change is the foundation for all the smart hallway storage ideas to shine.

The true success lies in the seamless integration of storage. My custom, slim profile bench is the hero. It offers a place to sit while hiding a surprising amount of shoes inside.
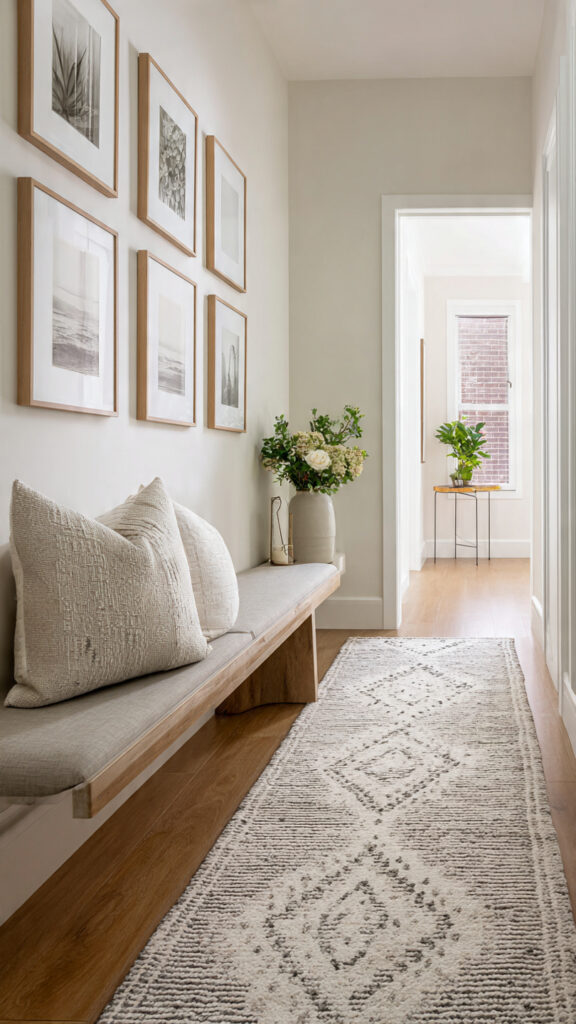
This built-in storage solution, inspired by professional tips, means clutter is out of sight. Wall hooks above organize bags and coats with elegant simplicity. Every item has a designated home, from keys to dog leashes.
Functionality meets beauty at every turn. The large statement mirror amplifies light and makes the hallway feel twice as wide. Strategic lighting layers ensure the space is inviting at any hour.
Even necessary eyesores, like the thermostat, were integrated thoughtfully. The overall effect is an elegant, period inspired feel achieved through clean lines and reflective surfaces.
Flow through the home is now effortless. The narrow hallway no longer feels like an obstacle. It serves as a practical launching pad for our daily routines.
These practical hallway storage ideas have eliminated the morning scramble. We can find what we need and leave the house feeling organized.
The entry is finally what I always envisioned. It is a bright, functional, and genuinely welcoming first impression. The principles of light, reflection, and intelligent storage worked in concert.
The result is a space that is not just beautiful to look at, but a joy to use every single day.
Conclusion
This transformation showed me that a narrow hallway isn’t a dead end. My journey turned a cramped, cluttered passage into a stunning entry. It proves that with careful choices, any small space can shine in your home.
The key strategies were simple yet effective. A light, reflective paint color made the space feel bigger. A large statement mirror added depth. Layered lighting brought warmth and erased shadows.
But the real game changer was the custom, slim profile storage bench. It solved the clutter problem without taking up too much space.
These ideas aren’t just for entryways. They work for long narrow kitchens and other tricky spaces too. Think of your narrow hallway as a blank canvas for creative solutions.
Don’t view its size as a limitation. See it as an opportunity to create a functional and welcoming entrance. With a clear plan and step-by-step approach, you can make your entry bright, organized, and beautiful.